
SENVAS Touch is an industrial touchscreen device built on the Raspberry Pi 4. We designed it as a small control screen you can carry straight into a factory, a farm, or a power plant, plug in, and use. Instead of expensive dedicated equipment, it does the same job on standard hardware plus web technology — and it is far easier to customize.
This post covers what SENVAS Touch can do, and why that makes life easier.
Two programs make up SENVAS
SENVAS Touch is made of two programs.
flowchart TB
    subgraph Device["SENVAS Touch device"]
      Launcher["② Launcher · boot · manage · deploy · remote"]
      Runtime["① HMI program · operator control screen"]
      Launcher -. launches full screen .-> Runtime
    end
    Designer["SENVAS Designer · screen authoring on a PC"] -->|deploy| Runtime
Admin["Administrator · browser"] --> Launcher- ① The HMI program — the control screen the operator sees. It is built in SENVAS Designer on a PC and executed by SENVAS Runtime on the device. We cover it in detail in our post on the SENVAS Touch HMI software.
- ② The launcher — the foundation layer that boots the device, deploys apps, and handles remote management. It is a web app built on .NET Blazor, and we cover it in our posts on the web management console and on VPN remote access.
Whatever ① builds, ② puts on screen.
The system at a glance
flowchart LR
    PC["PC on the same network · auto-discovery · app deployment"]
    Device["SENVAS Touch · field device"]
    Remote["Anywhere on the internet · remote management"]
    AI["AI · Claude · control by conversation"]
    PC -. auto-discovery · deploy .-> Device
    Device -. secure tunnel .-> Remote
    AI -. MCP integration .-> Device
On screen the moment you power up — kiosk auto-boot
Kiosk auto-boot brings the full-screen UI up as the device boots, the moment you apply power. No mouse, no keyboard, no separate setup — you put it in place and that is it. Even during boot there is no blank screen or flicker; it flows straight into the product screen.
Convenience — installation equals plugging it in. No IT staff needed to configure each device one by one.
The boot image and the fonts can be swapped to match the site or the brand, so it looks like your product from the instant it turns on.
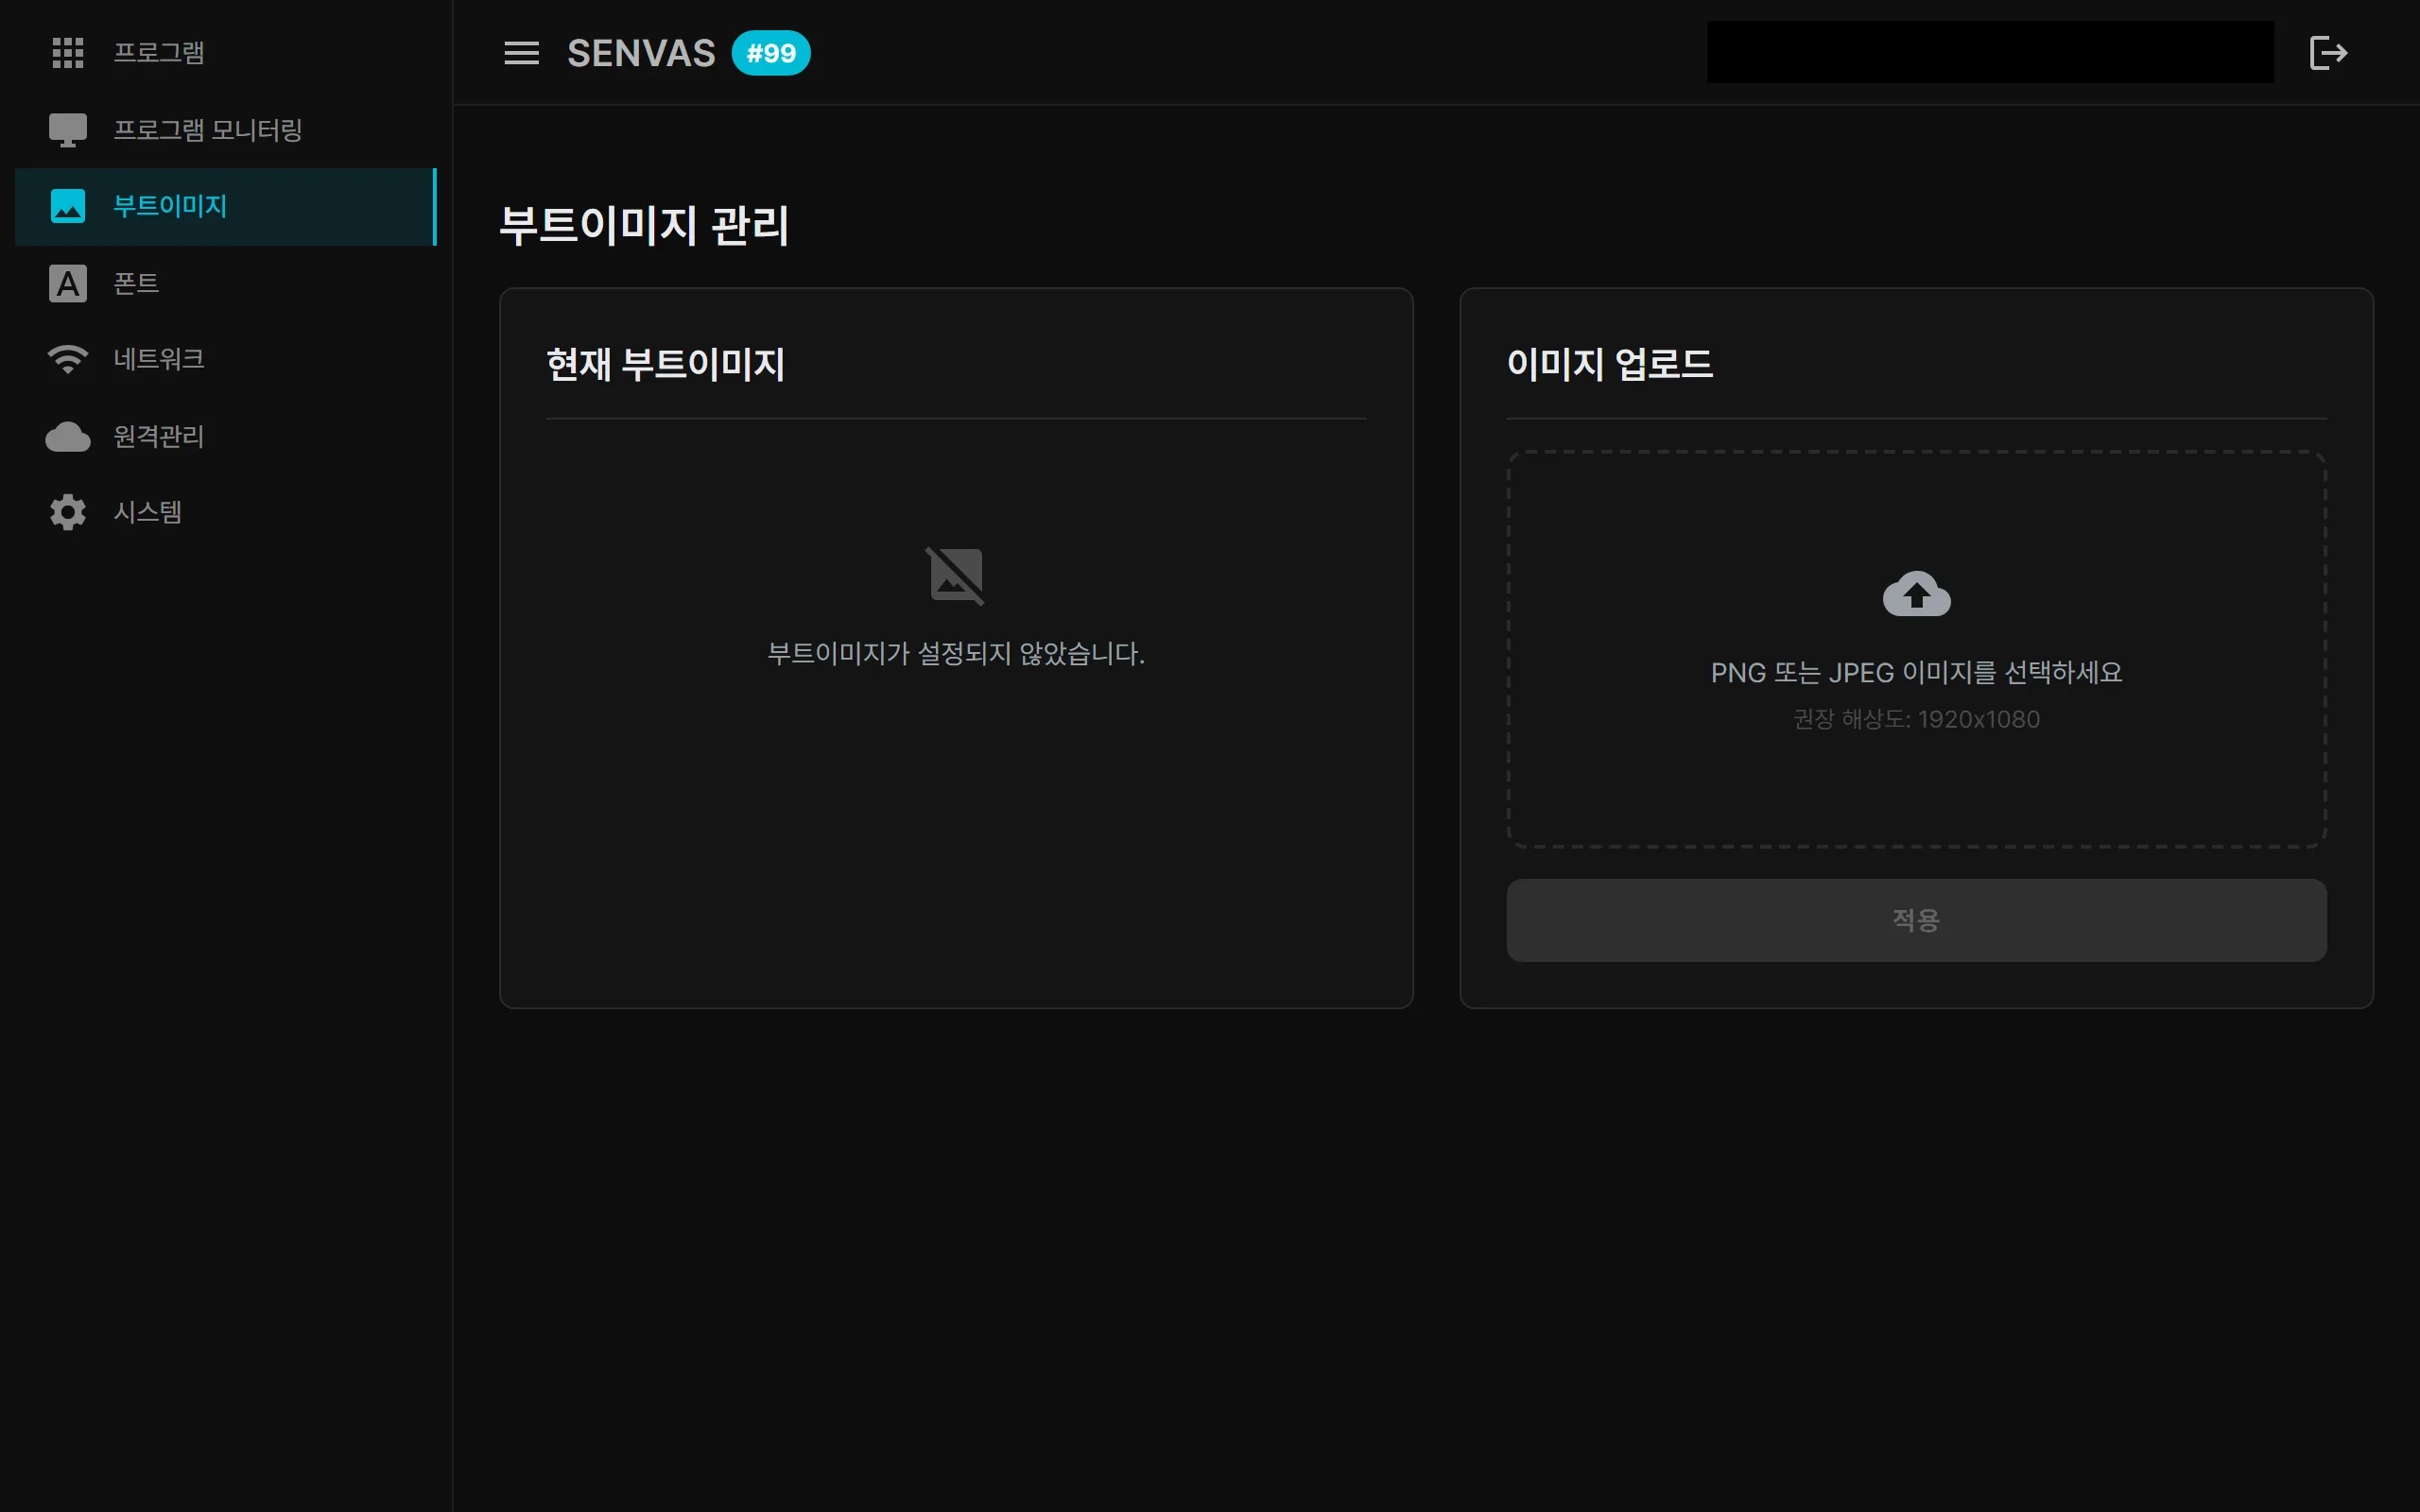 Replace the boot image with a site or brand logo — your branding from the moment it powers on. (Actual device management screen capture.)
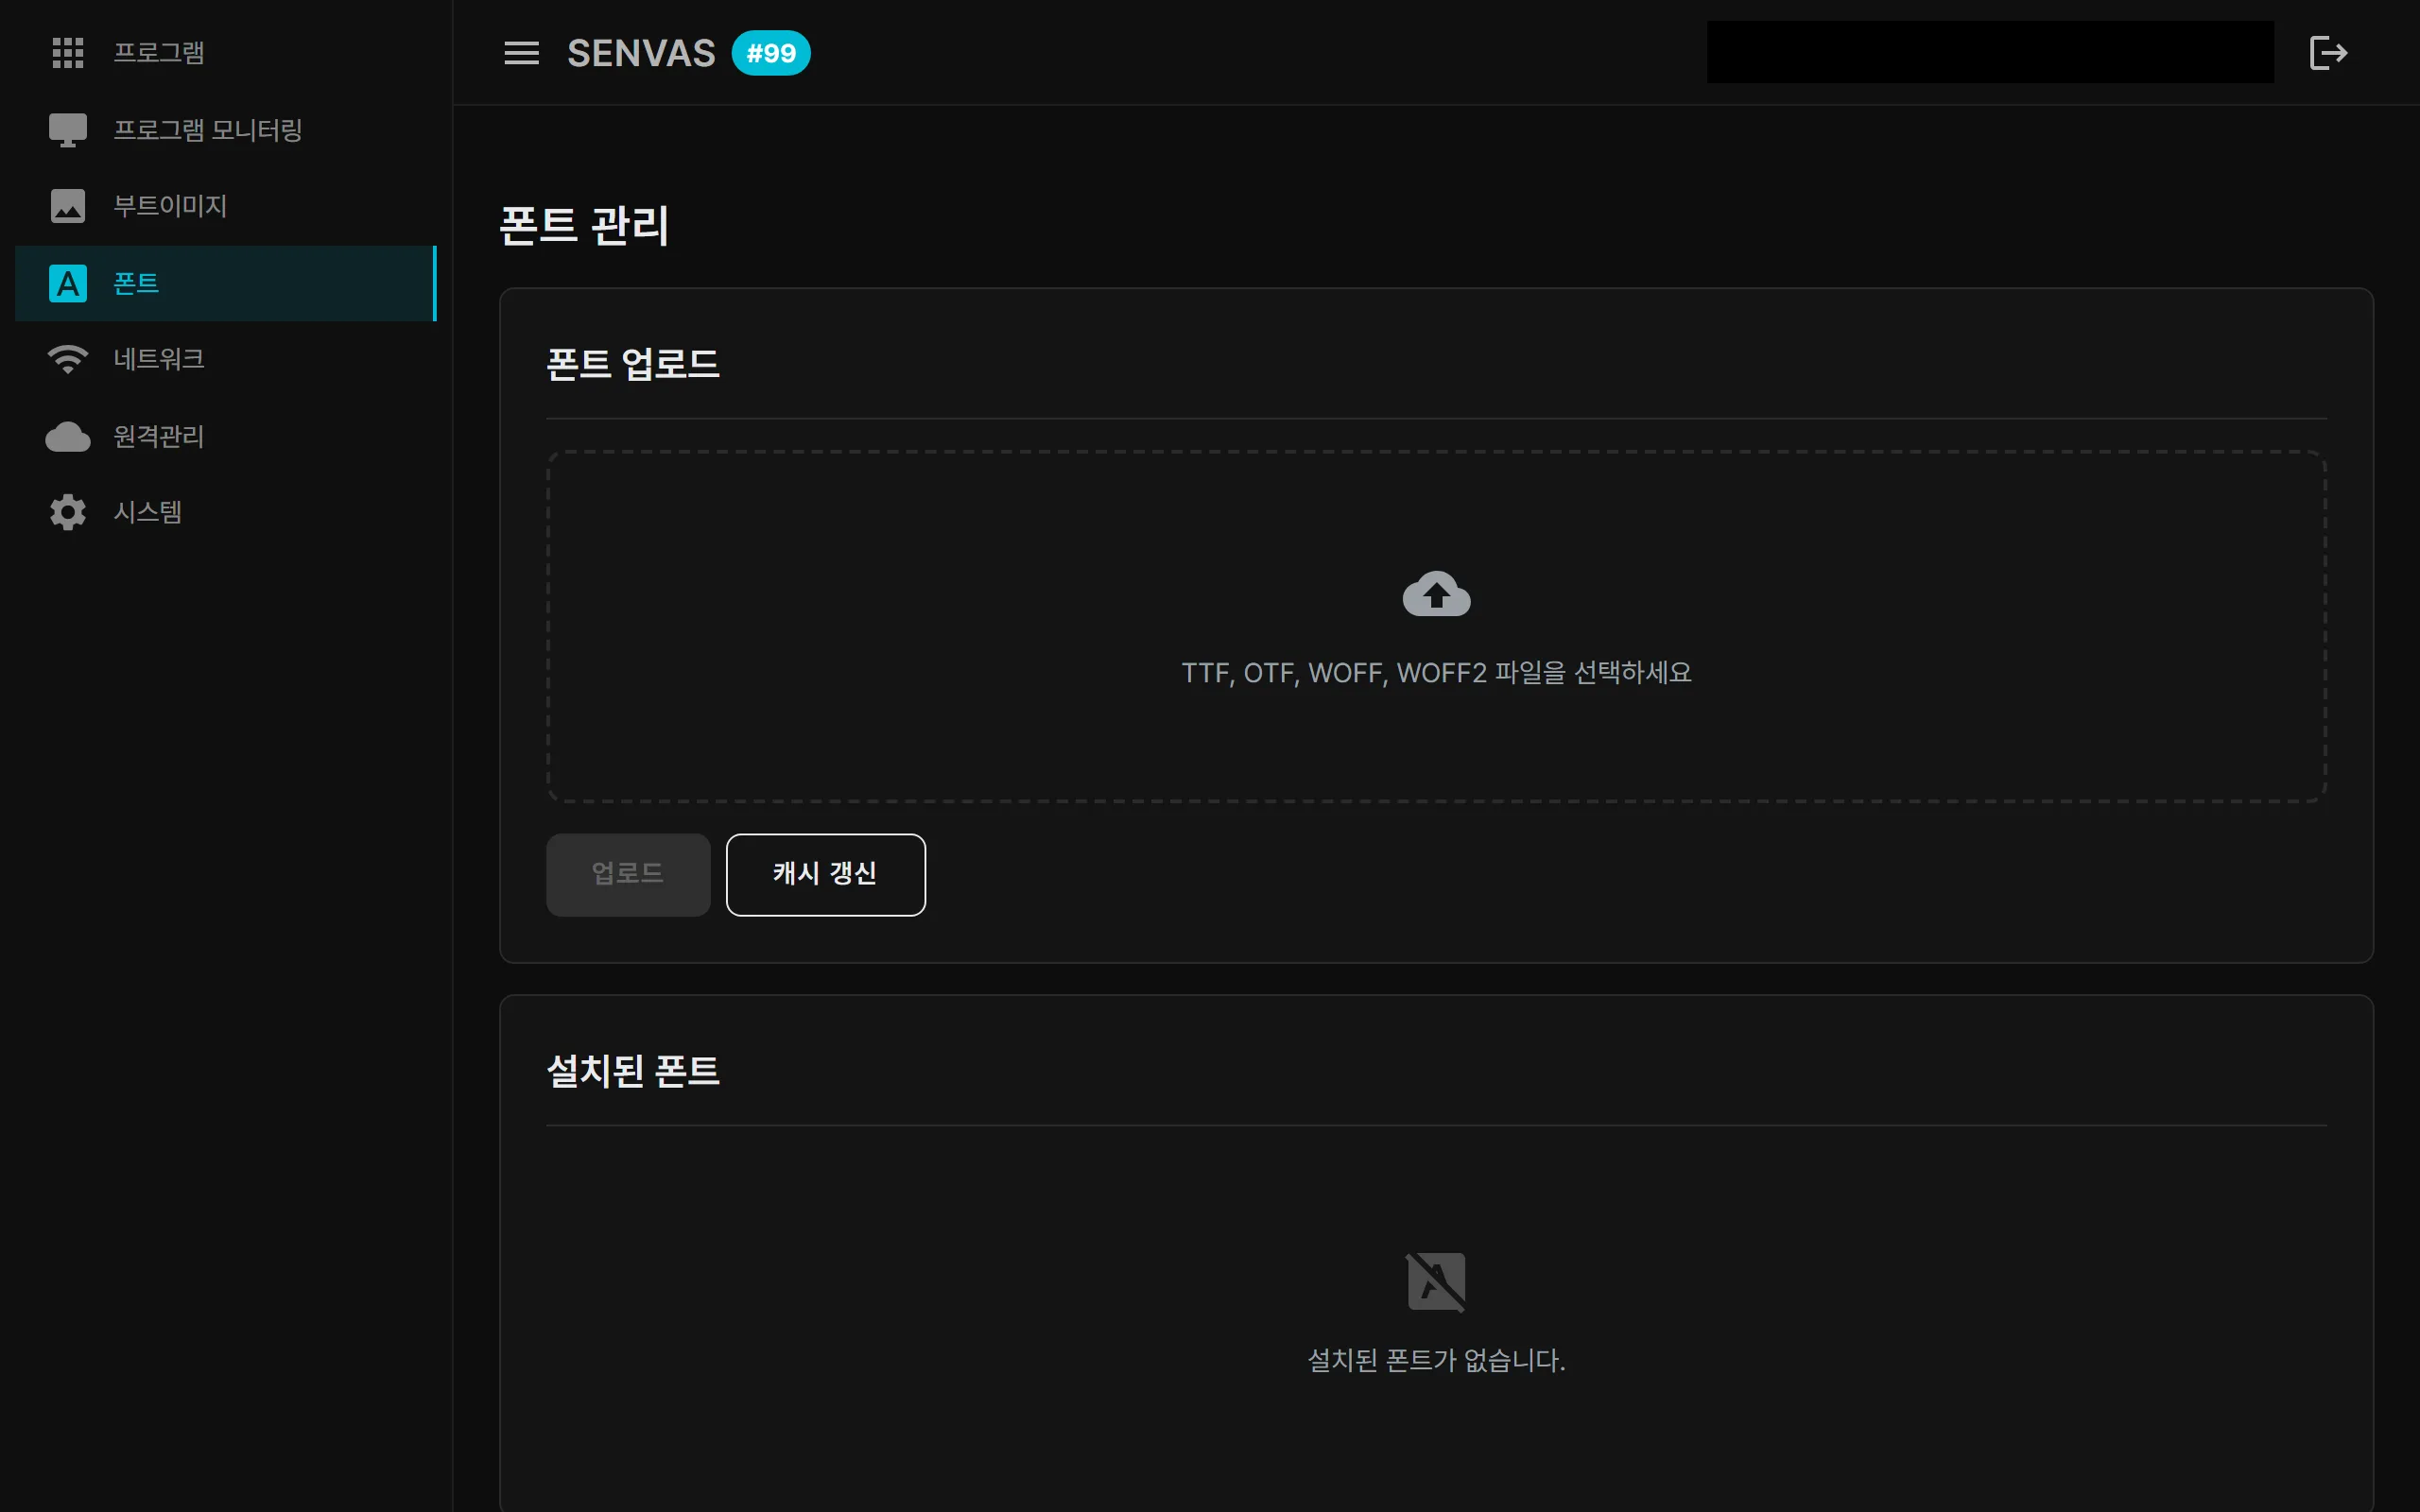 Fonts are equally free to add by uploading TTF or OTF files. (Actual device management screen capture.)
Found automatically by a PC on the same network
Network auto-discovery means a PC on the same network finds the device by itself. There is no IP address to memorize or type in — pick it from the discovered list and connect.
Convenience — even with several devices on site, they are recognized immediately, with no IP bookkeeping.
Secure remote management from anywhere
Remote HMI management works from anywhere with an internet connection, without going to the site. It connects through a secure tunnel with no VPN server of your own to run, and when you need it you can open external access at a public HTTPS address.
Convenience — inspection and configuration without a trip or a visit, and without touching the company network layout.
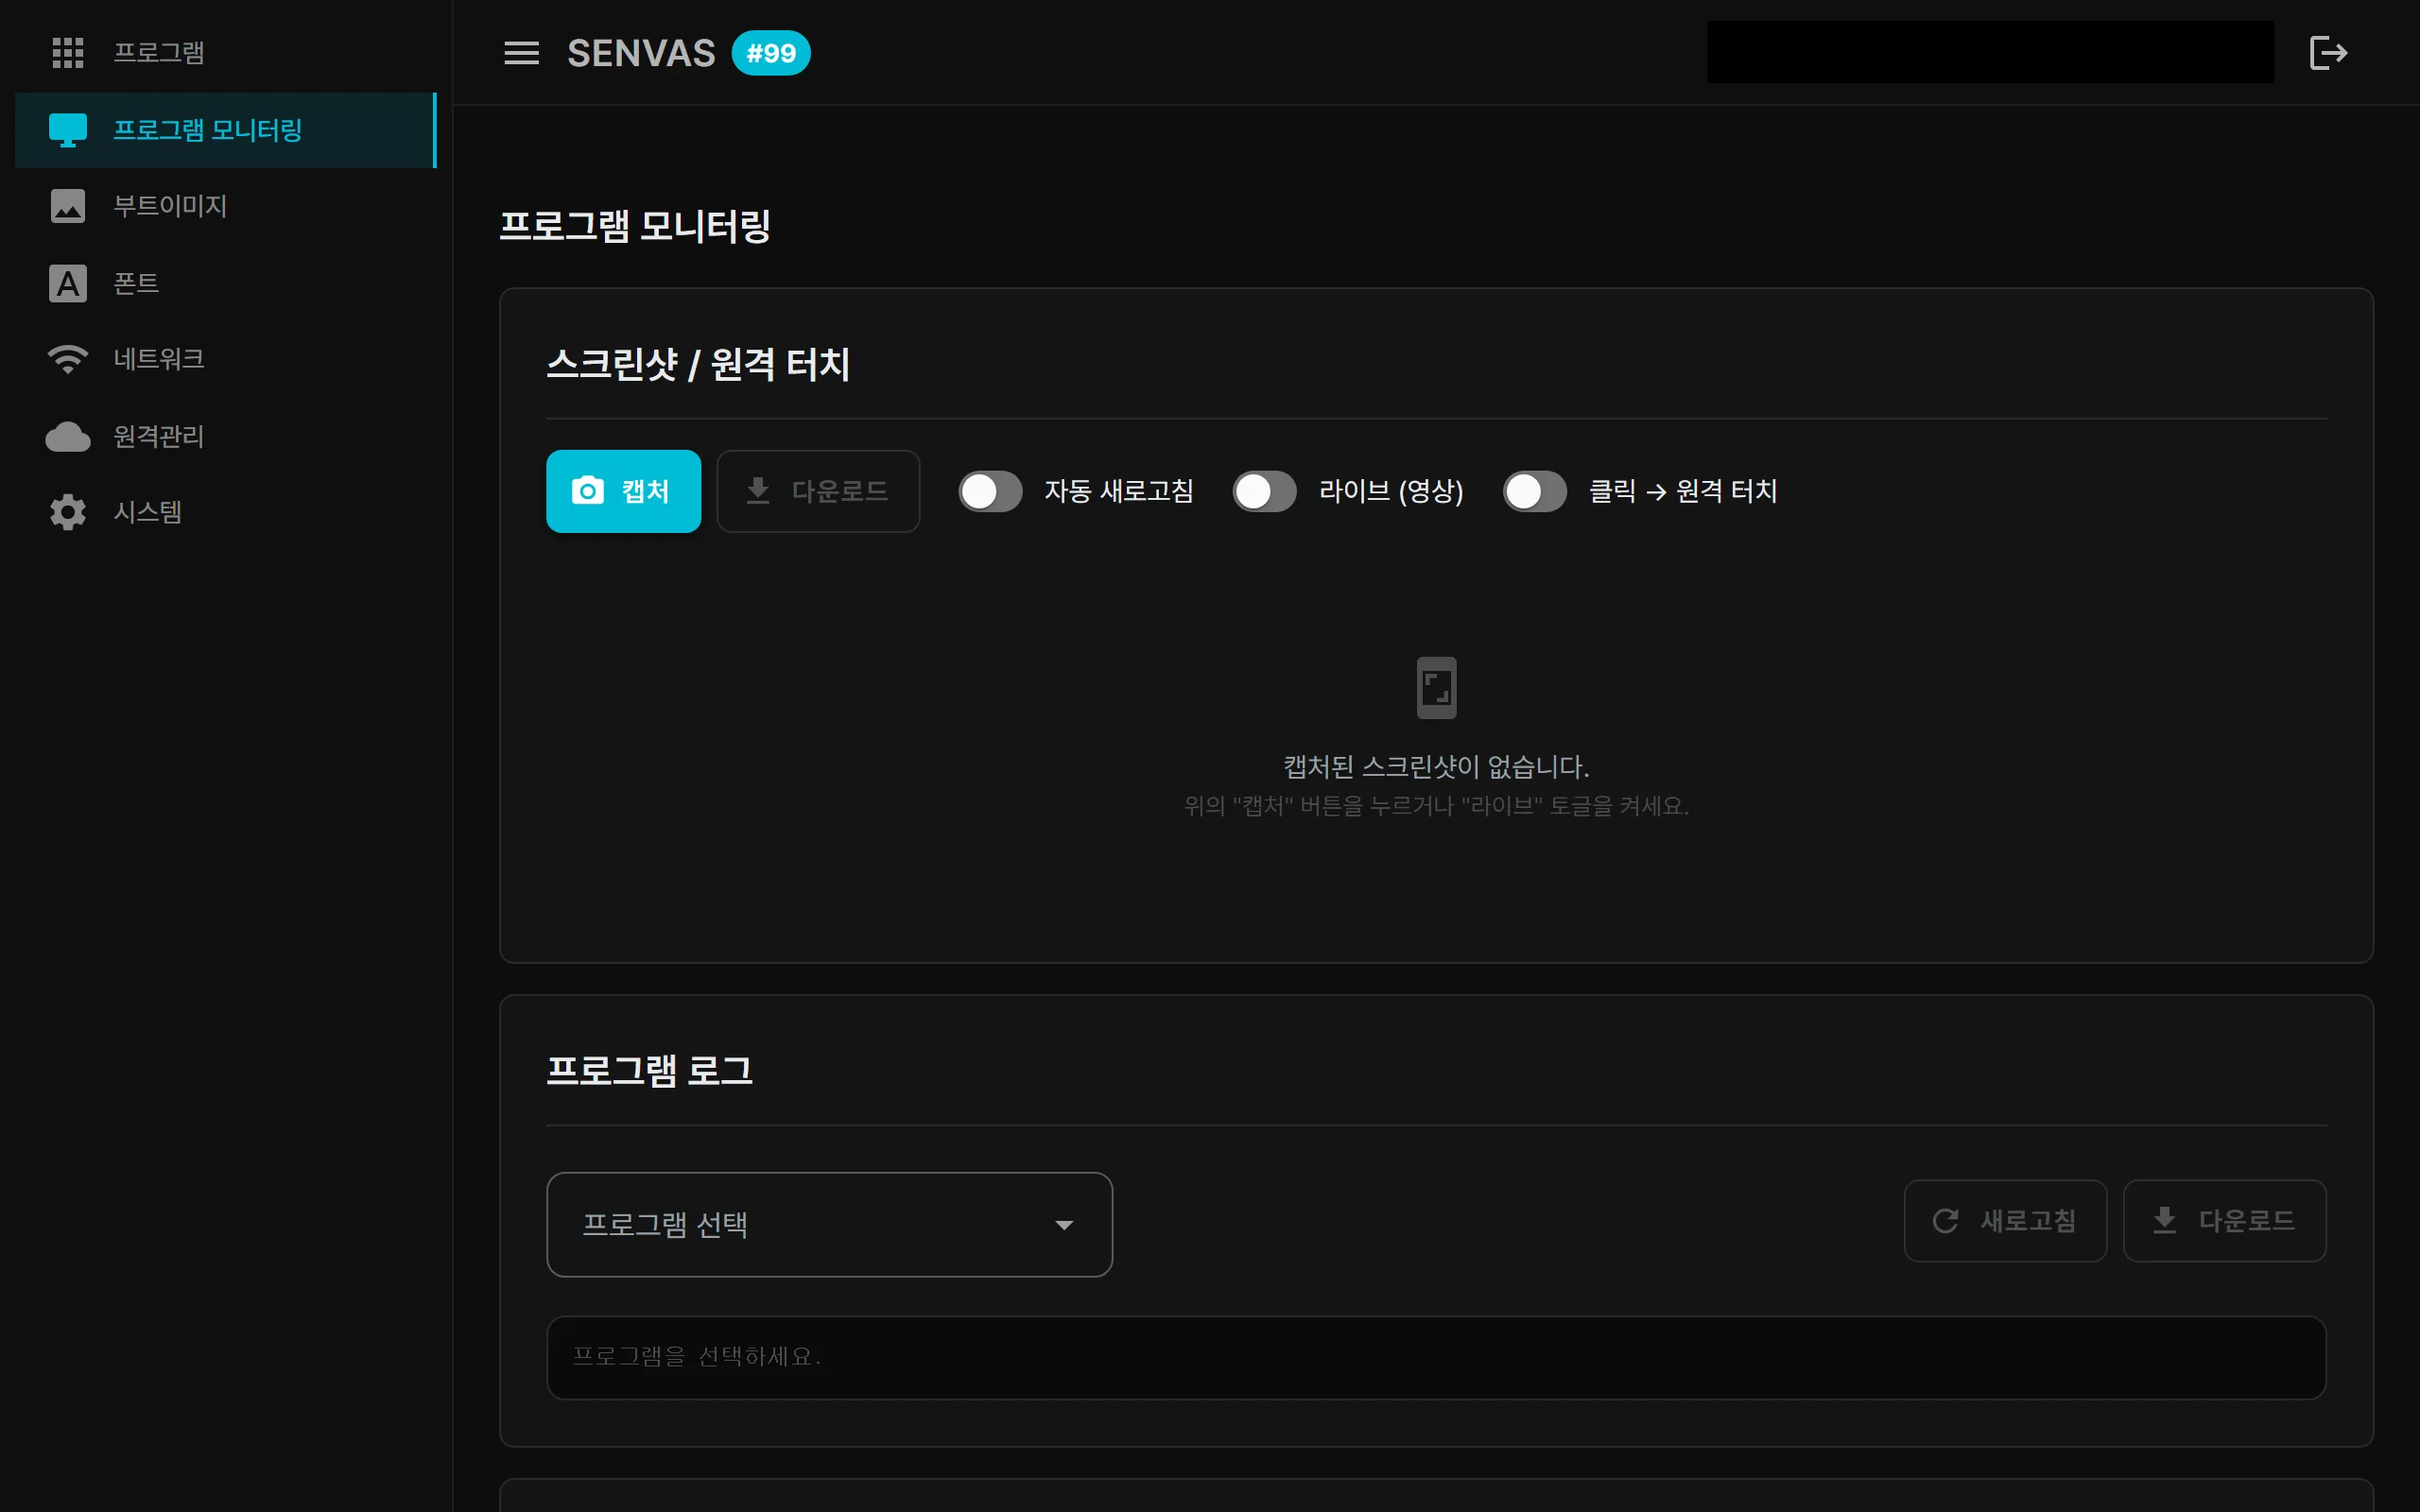 Capture the device screen remotely, and click to send a remote touch. (Actual device management screen capture.)
AI drives the device directly — Claude integration
MCP (Model Context Protocol) integration lets an AI such as Claude query and control the device directly. You work with a field device in plain language: “tell me this device’s status”, “deploy this app”.
Convenience — run the device through conversation, without complex commands or a console.
Automated app deployment
Automated app deployment puts new apps and updates onto a field device in a few clicks. The swap is clean and preserves user data, and it can be rolled out to several devices at once.
Convenience — no manual installation on each device.
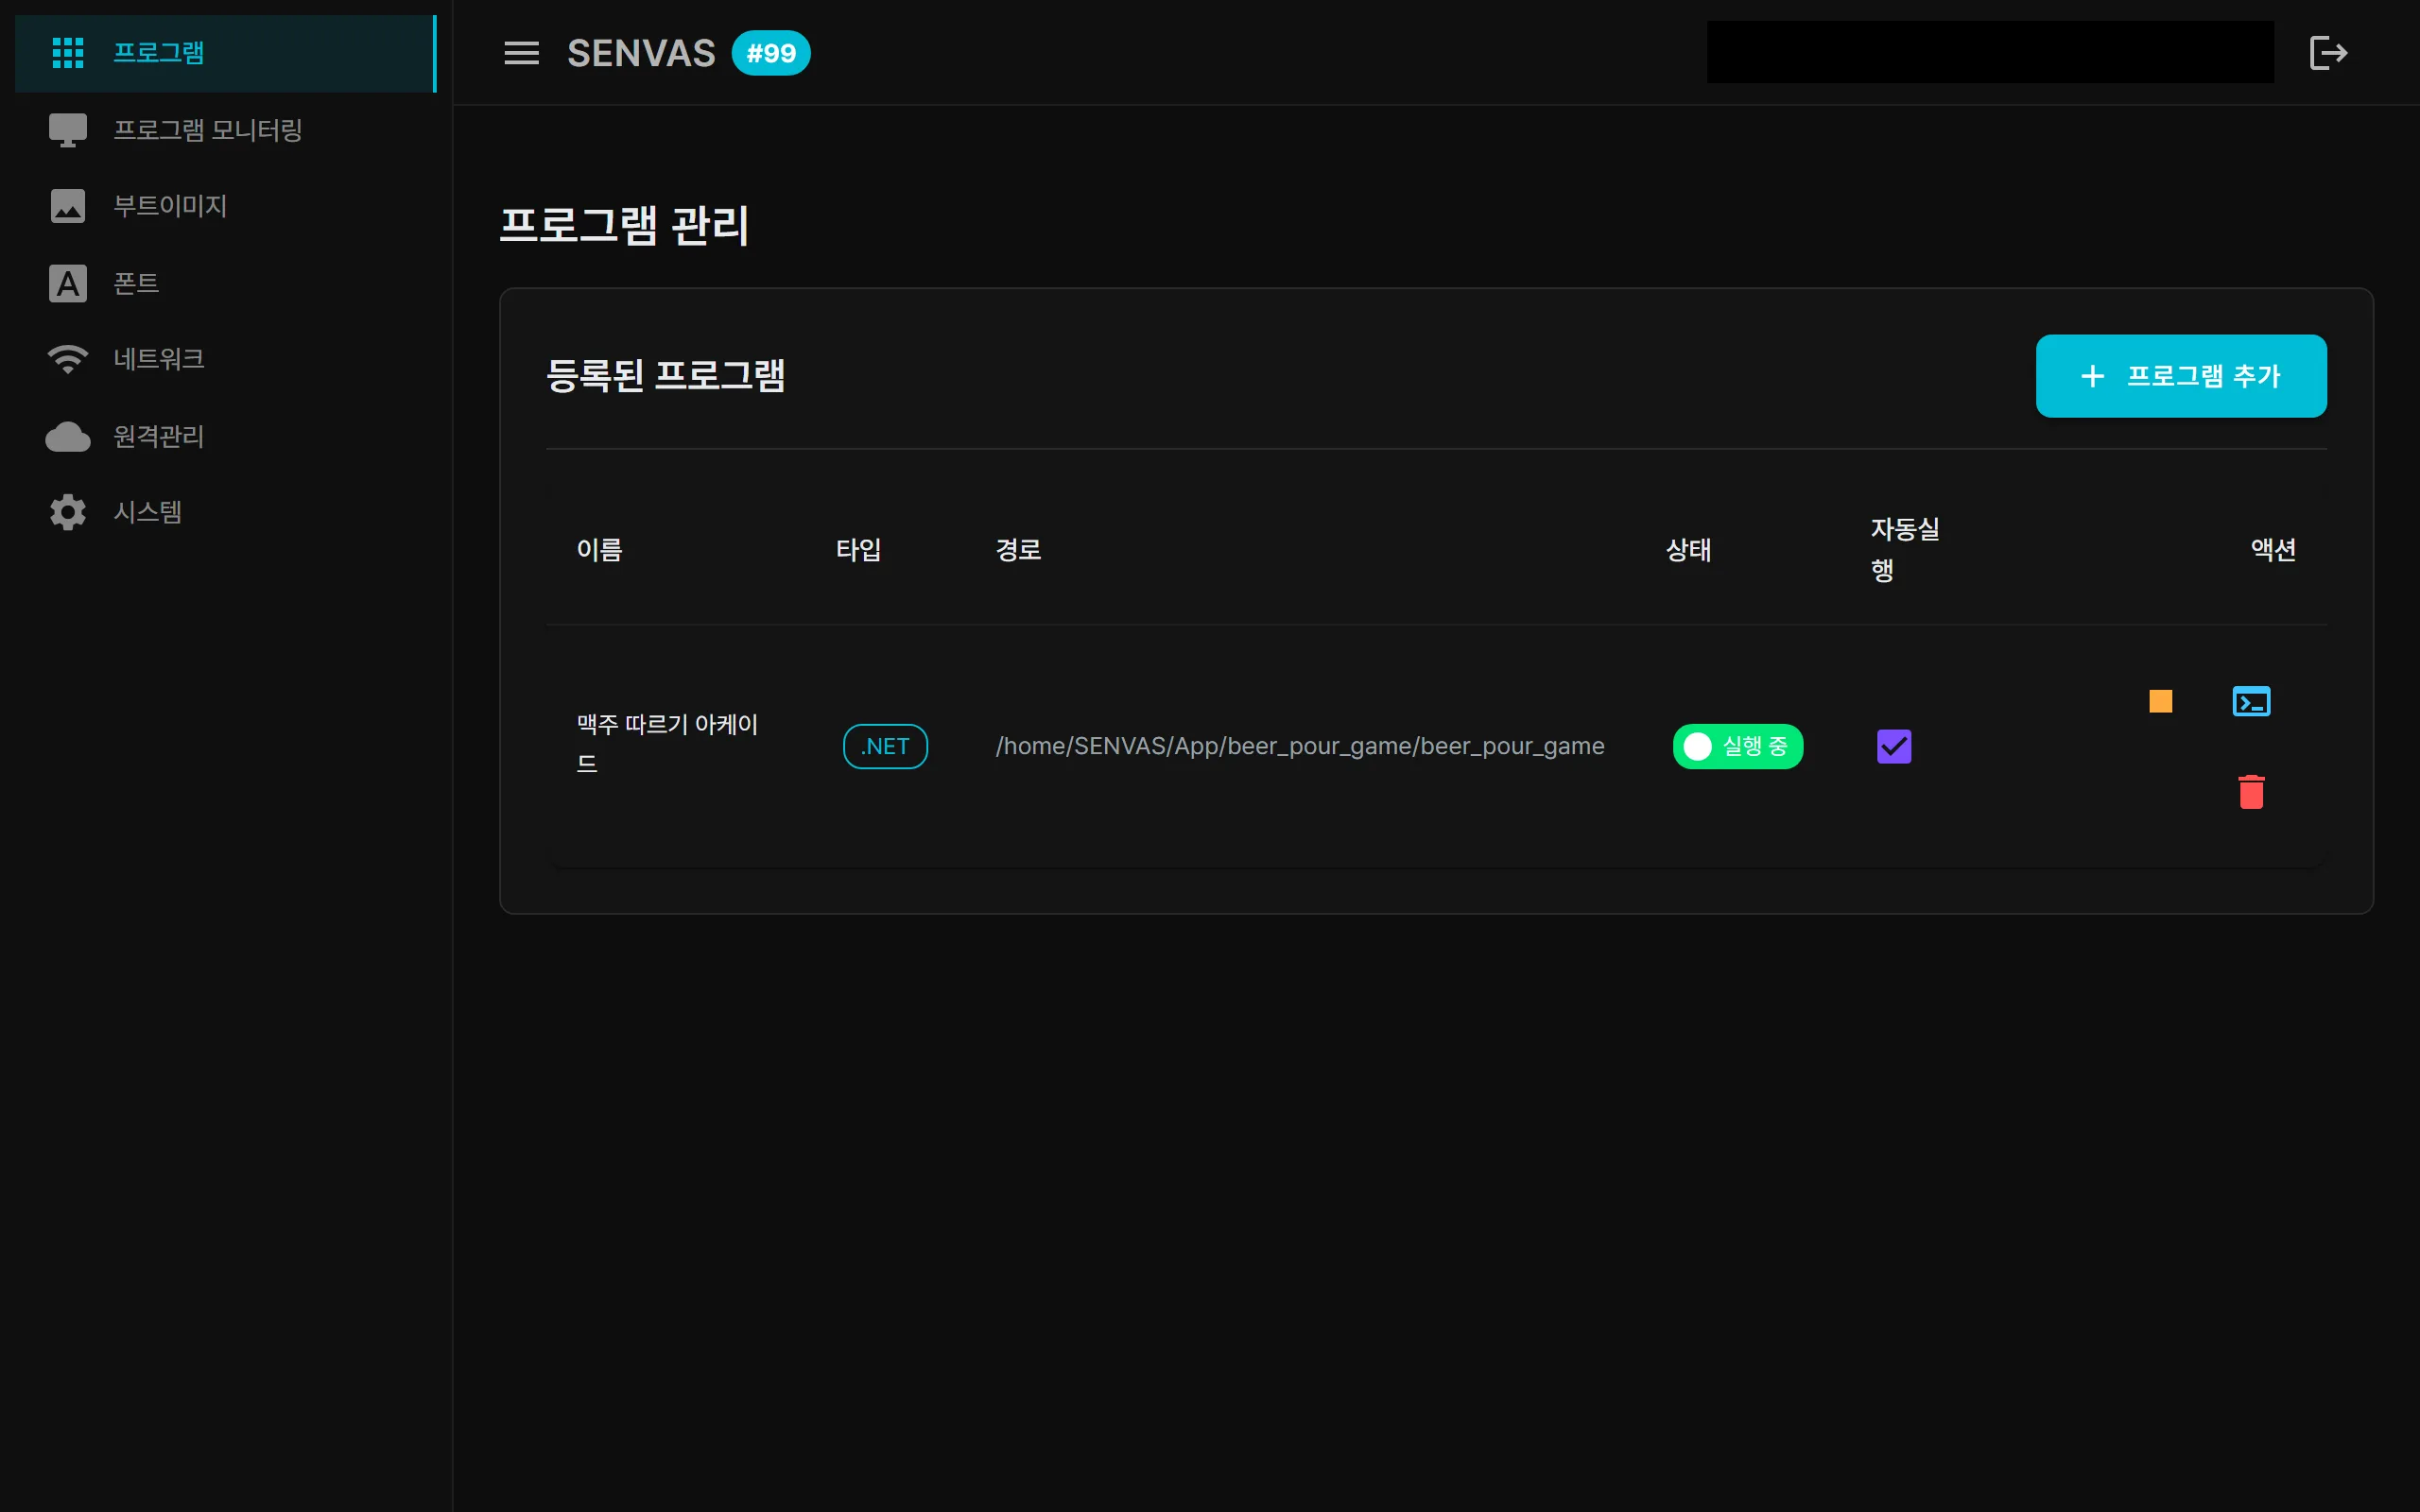 Register, run, and autostart .NET, Node.js, Python, and native apps from one screen. (Actual device management screen capture.)
One web management console for everything
A single web management console holds all of it: app deployment, screen monitoring, boot images, font swaps. No dedicated program, no command-line session: open the device address in a browser from a PC, tablet, or phone on the same network. The settings you touch most often on site are all on the same screen.
- Network — static IP, gateway, and DNS for wired; Wi-Fi scanning and connection for wireless, all from the screen. Matching the site network is easy.
- Live status — CPU and memory usage in real time, so you can see at a glance whether the device is running comfortably.
- Device number — assign each unit a unique number to tell them apart when you run several.
- Screen control — restart the launcher or show and hide the desktop remotely.
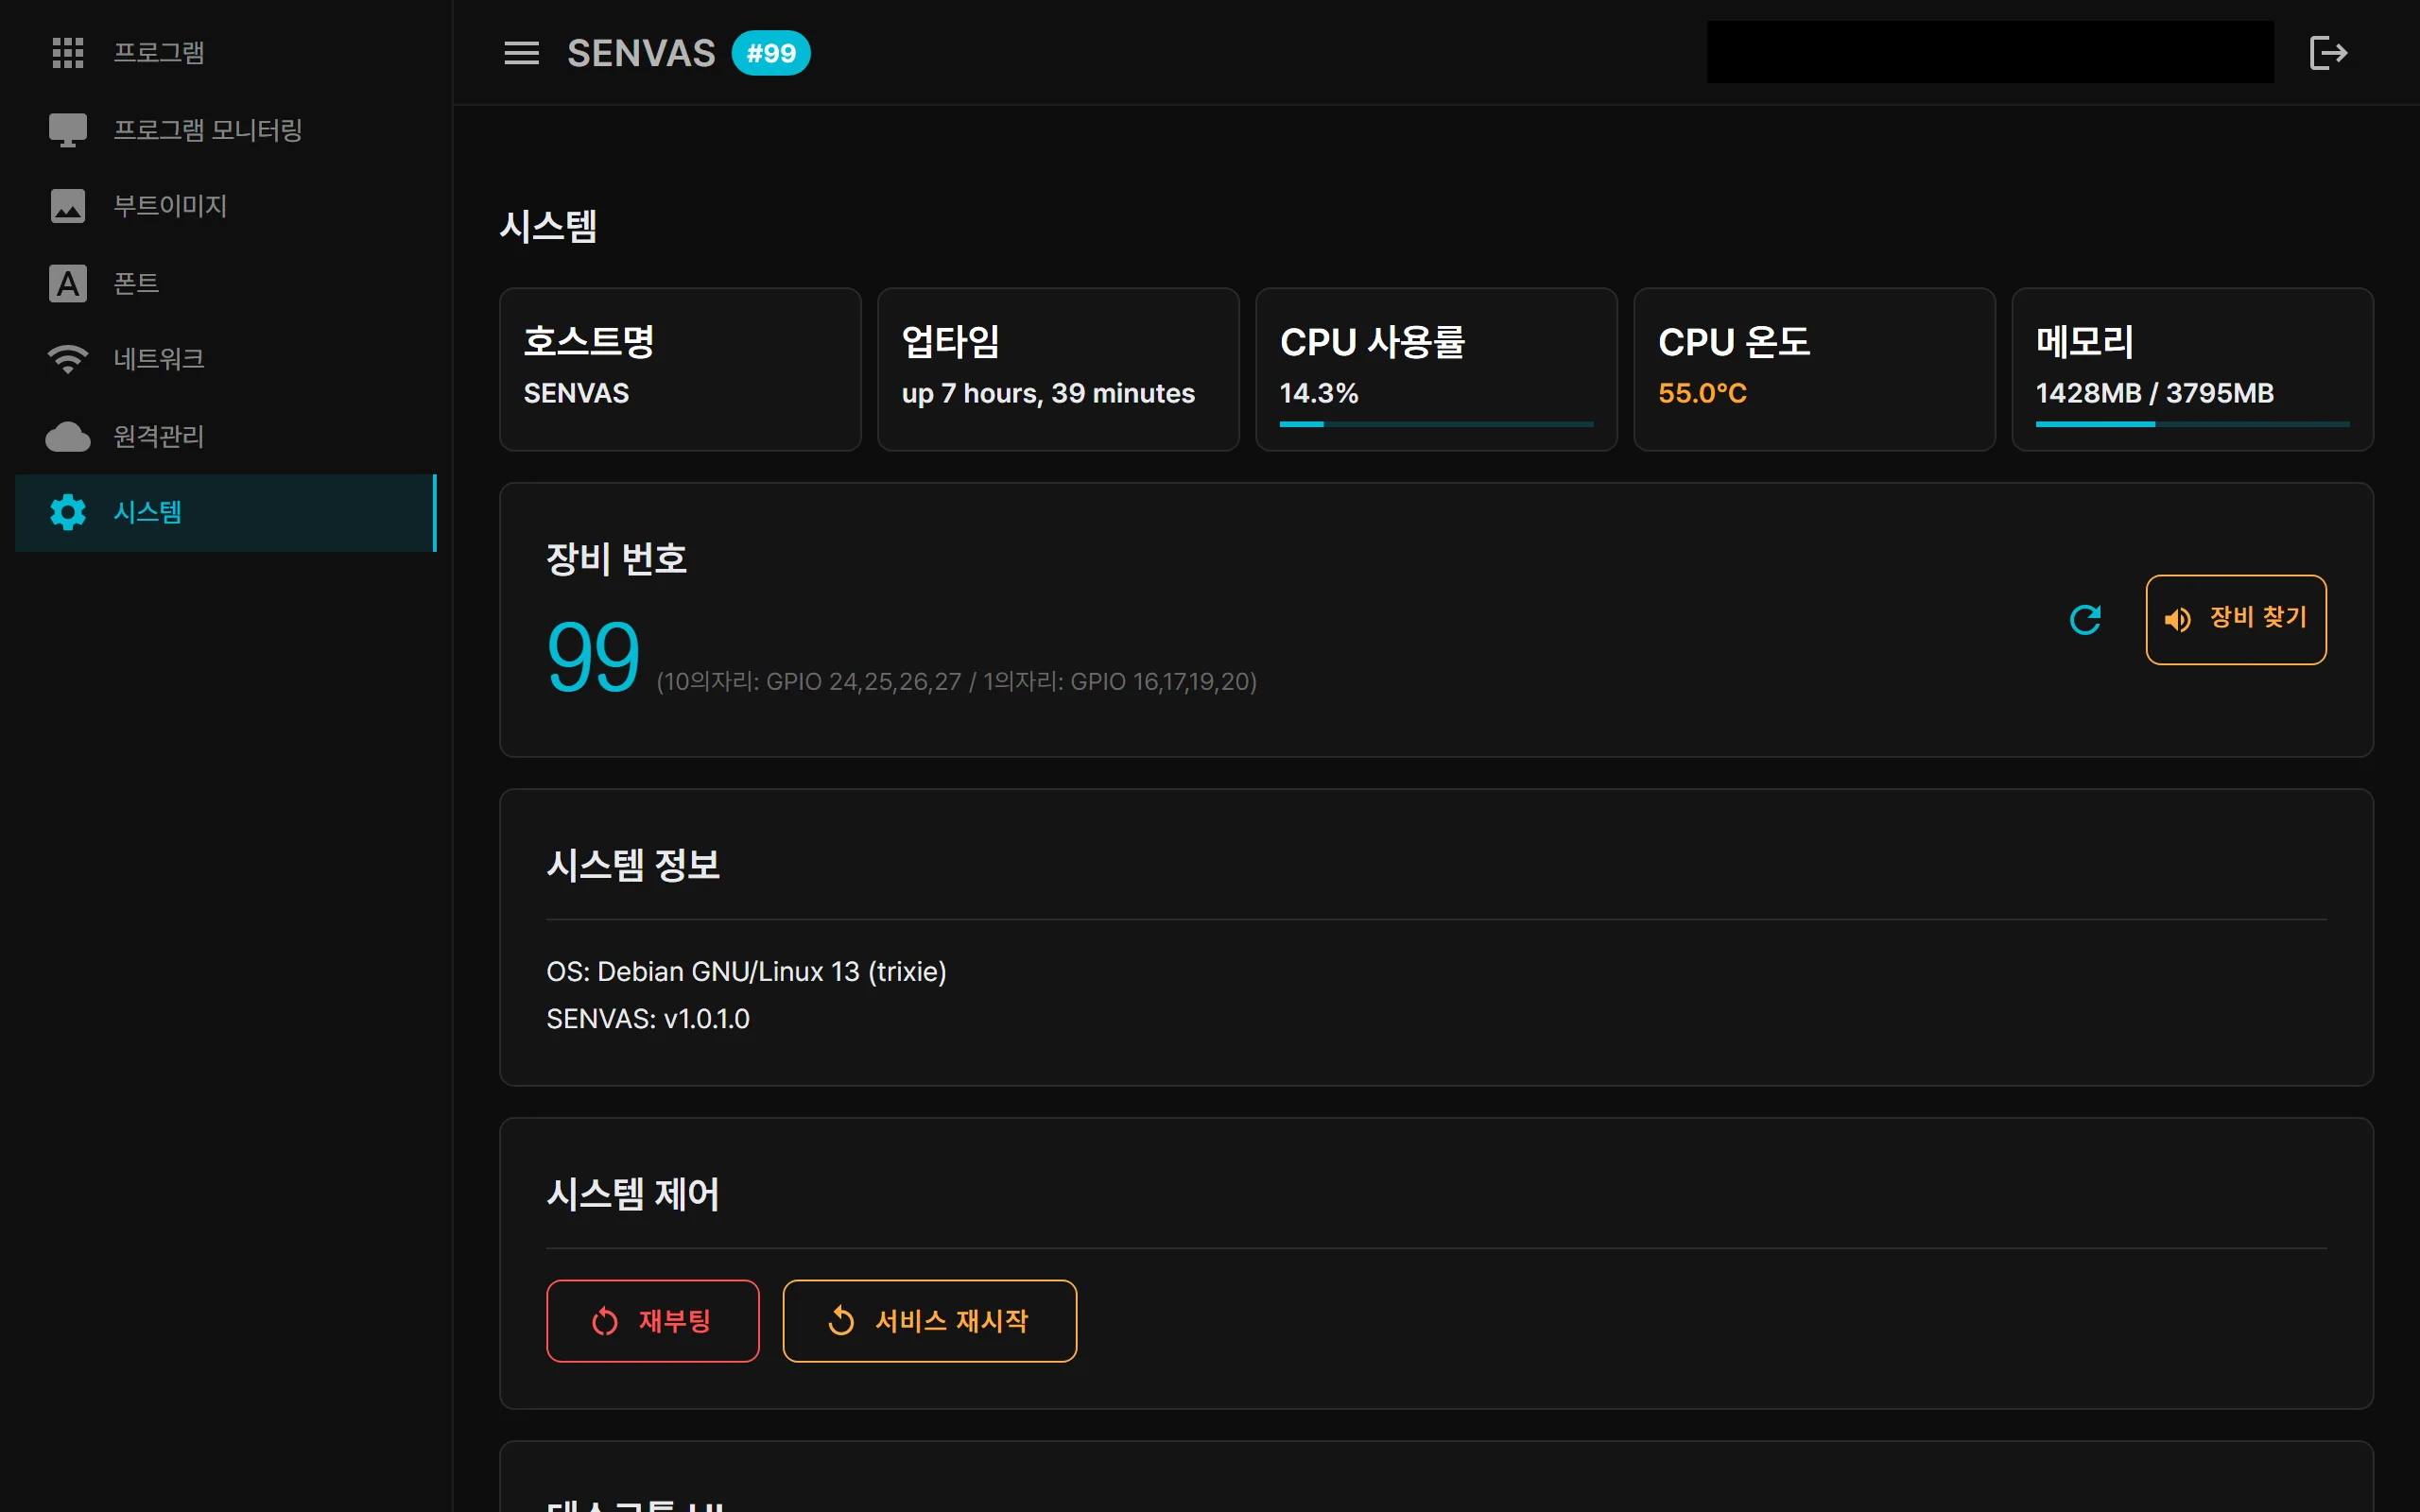 CPU, memory, and temperature live, plus device number and screen control, all on one screen. (Actual device management screen capture.)
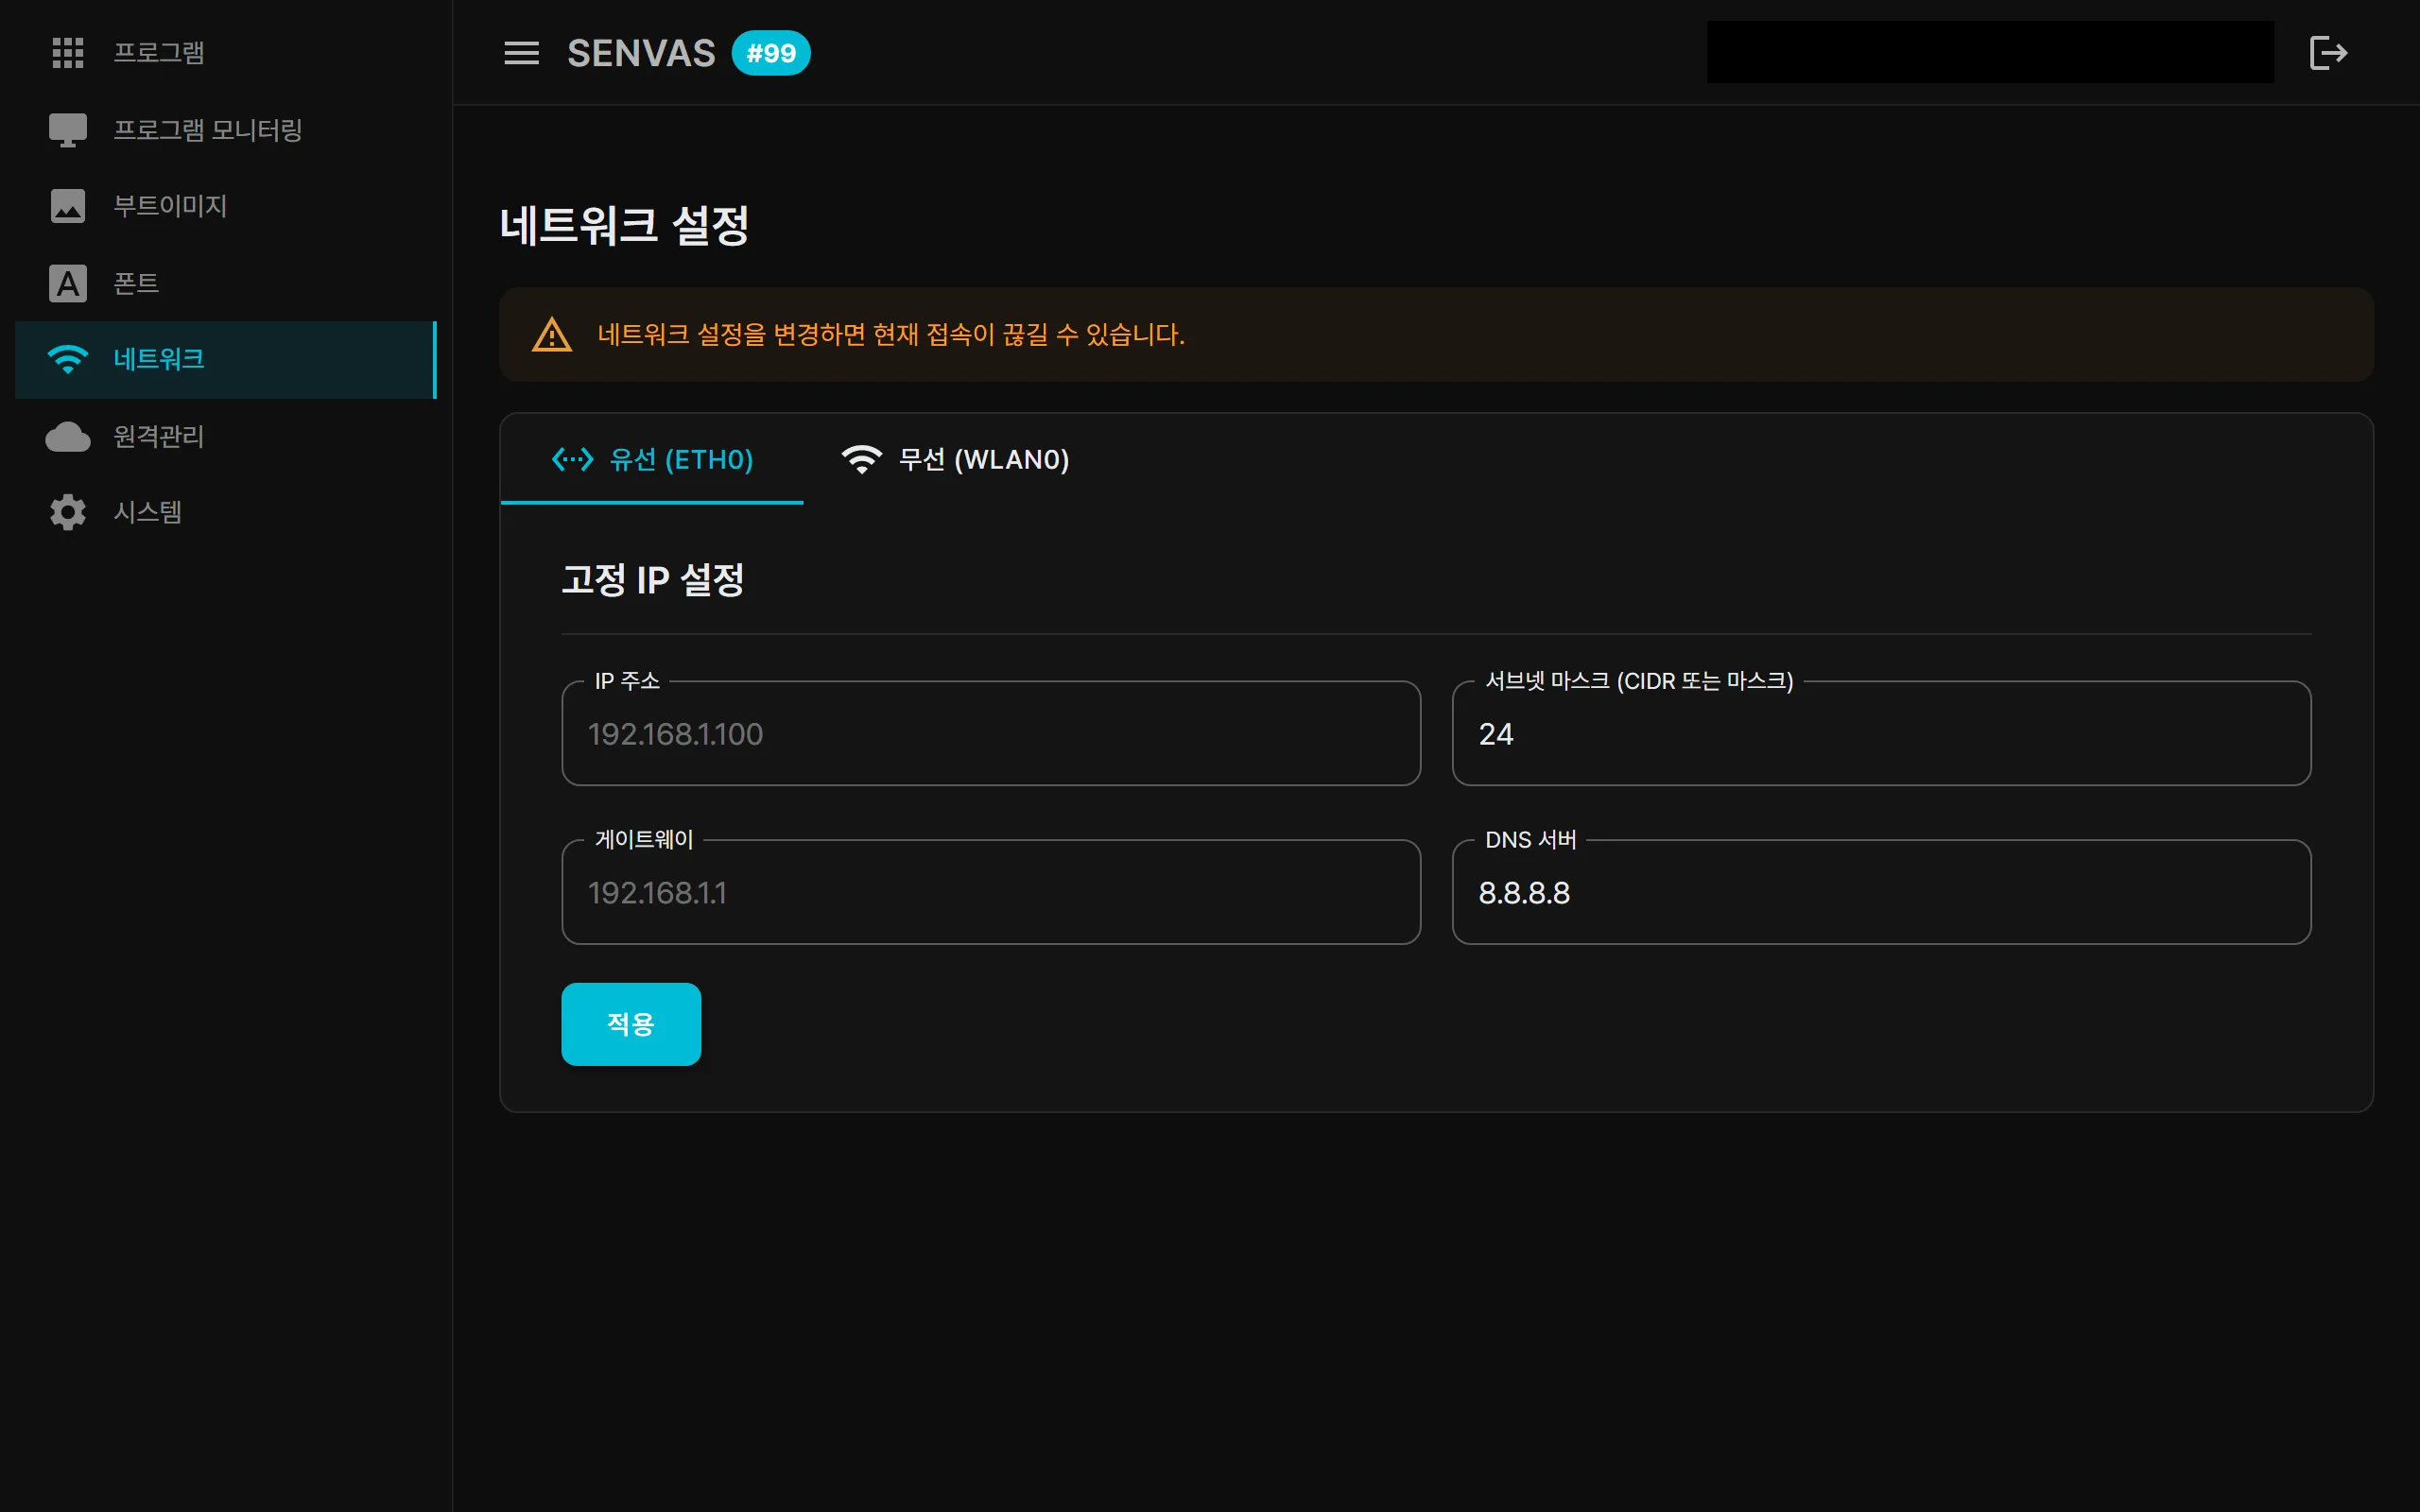 Set the wired IP and the wireless Wi-Fi to match the site network, right from the screen. (Actual device management screen capture.)
Convenience — a browser is all you need to manage it. Access is password-protected, and remote sessions use exactly the same console.
Dependable in the field
Field reliability starts with the screen saying so immediately when the network drops, and reconnecting automatically once the link is back. We designed it so operation survives the unexpected things that happen on site, like reboots and lost communication.
How we built it
Development started as a web-based UI (.NET 9 Blazor) on a Raspberry Pi. From there we added the things a real site needs, one at a time.
- On screen at power-on — kiosk auto-boot took the most effort to get right, so that boot flows into the product screen with no blank frame and no flicker.
- Easy to find on site — we added discovery so a PC on the same network finds the device without anyone typing an IP address.
- Manage it from anywhere — remote access over a secure tunnel with no VPN server of our own, plus a public HTTPS address we can open only when needed.
- AI integration — Claude connected so the device can be driven through conversation over MCP.
- Deployment automation — apps pushed to a field device in a few clicks, applied to several devices at once.
At every step we worked through the problems that actually show up on site: dropped communication, reboots, permission handling. Because it sits on standard hardware and web technology, adding a feature or adapting to a customer request is fast.
SENVAS Touch specifications — 7.0″ and 10.1″
Industrial touchscreen specifications come in two sizes to fit the site: 7.0″ and 10.1″.
| Item | 7.0″ model | 10.1″ model |
|---|---|---|
| Display | 7.0″ TFT · 1024 × 600 | 10.1″ TFT · 1280 × 800 |
| Brightness / contrast | 400 cd/m² · 800 | 250 cd/m² · 1000 |
| Dimensions (W×D×H) | 188 × 123 × 42 mm | 258 × 172 × 42 mm |
| Weight | approx. 900 g | approx. 1,000 g |
Common specifications:
| Item | Specification |
|---|---|
| Processor | Broadcom BCM2711 quad-core Cortex-A72 1.5 GHz |
| Memory / storage | 2 GB LPDDR4 / microSD 32 or 64 GB |
| Touch | Capacitive multi-touch (6H surface hardness) |
| Communication | RS232 ×1 · RS485 ×3 · Ethernet 10/100/1000 ×1 |
| I/O | USB 2.0 ×2 · USB 3.0 ×2 · microSD ×1 · buzzer |
| Power | DC 12V to 28V |
| Software | Raspberry Pi OS · SENVAS Runtime · SENVAS Designer |
The stack, briefly
Raspberry Pi 4 · .NET 9 (Blazor-based web UI) · Tailscale (remote) · MCP (AI integration). Building on standard hardware and web technology keeps customization and extension open.
Because it sits on standard hardware and web technology, it works the moment you plug it in, and remote access, AI integration and deployment all finish in one console.
If you would like to know more about SENVAS Touch, or you are considering it for a site, we are happy to hear from you.
Contact
- Email: [email protected]
- Instagram: https://www.instagram.com/going.sen/
- Website: https://intosen.com/kr/consult/
Comments
Enter a nickname to leave a comment, or sign in with Google or GitHub.