

Senbrix works like this: you build ladder logic in an editor on a Windows PC, then push it to a runtime on a Raspberry Pi that executes it. Part 1 is the PC side. Install the editor and make sure the .NET 9 SDK the build needs is there.
What is in the box
flowchart LR
    E["Editor<br/>Windows PC"] -- "deploys the build" --> R["Runtime<br/>Raspberry Pi"]
    R -- "monitoring / diagnostics" --> E
    R --> B["Main board GPIO<br/>IO expansion board · Modbus"]
E -. "no hardware yet" .-> S["Simulator<br/>Windows PC"]| Component | Runs on | Role | Release tag |
|---|---|---|---|
| Editor | Windows PC | Edit ladder, symbols and C#. Build, deploy, monitor, diagnose | vX.Y.Z (latest) |
| Runtime | Raspberry Pi | Runs the deployed app on a 10 ms scan. Drives boards and comms | runtime-vX.Y.Z |
| Simulator | Windows PC | Takes the deploy instead of a Pi. Test with no hardware | sim-vX.Y.Z |
This series uses the editor (Part 1) and the runtime (Part 2).
What you need
| Item | Requirement |
|---|---|
| Editor PC | Windows 10/11 x64 |
| Build | .NET 9 SDK (x64). The installer does not install it |
| Network | Same network as the Raspberry Pi. Needed in Part 2 |
| Claude Code | Used in Part 3 to write the ladder. Needs a paid plan, Pro or above |
Claude Code installs with one line in PowerShell. Run claude once afterwards and log in.
irm https://claude.ai/install.ps1 | iex1. Download the installer
Grab Senbrix-win-Setup.exe from the download button on the product page
or from the GitHub releases page.

2. Install
Run Senbrix-win-Setup.exe. It takes a few seconds and the editor opens right away.
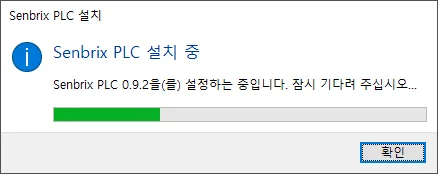
- It installs to
%LocalAppData%\Senbrix. No admin rights needed. - If the .NET 9 desktop runtime is missing, the installer adds it. You get one admin prompt for that.
3. Install the .NET 9 SDK
Build runs dotnet build. Without the SDK you can still edit and save, but the build fails.
Install the x64 SDK from the .NET 9 download page and check it.
dotnet --list-sdks9.0.300 [C:\Program Files\dotnet\sdk] <- this line
10.0.400 [C:\Program Files\dotnet\sdk]One 9.0.xxx line is all you need. Other versions alongside it are fine.
4. First start
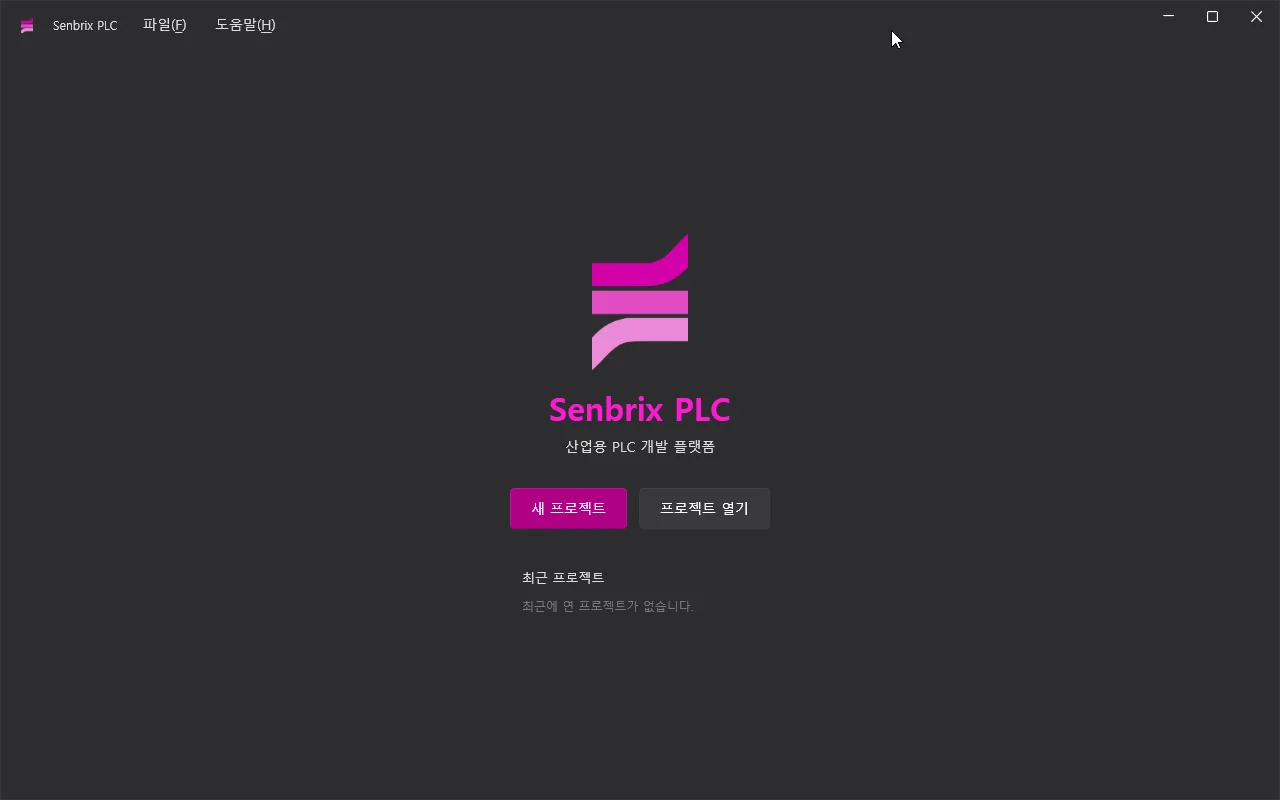
The start screen has only New Project and Open Project. You will create the project in Part 2, once the Raspberry Pi is ready. Language switching and update checks live in the Help menu.
5. Understanding boards
Senbrix has two kinds of board.
| Main board | IO expansion board | |
|---|---|---|
| What | A carrier board sitting on the Pi. Uses the Pi’s GPIO | An IO module attached over CAN bus |
| How many | One per project. Unset, it defaults to Senbrix (no onboard IO) | Numbered 1 to 9, several allowed |
| Defined by | One XML file | A plugin |
A main board XML is nothing more than GPIO numbers with IN/OUT names attached.
<MainBoard name="Sample" version="1">
  <Pin gpio="5"  slot="IN1"  direction="In"/>
  <Pin gpio="22" slot="OUT1" direction="Out"/>
</MainBoard>
The Pi-SD16R used in this series (4 relay outputs, 4 isolated inputs, RS-485) gets written in this format in Part 2.
Next
Part 2 flashes an OS onto a Raspberry Pi 5, installs the runtime, and registers the Pi-SD16R as a main board XML.
Comments
Enter a nickname to leave a comment, or sign in with Google or GitHub.